Microbit-Servo-Driver
From SB-Components Wiki
Micro:Bit Servo Driver
16 Channel Servo Driver for micro:bit is a motor driver from which one can control up to 16 motors simultaneously. If you're building a robot with a lot of moving parts, or if you need to monitor a lot of servo motors with PWM yields, the microcontroller's limited PWM yields will be a big problem. The most important thing you can do to solve this problem is to obtain a 16-Channel 12-Bit PWM/Servo Driver.
Features
- Adjustable frequency PWM up to about 1.6 KHz
- Up to 16-Channel servo/PWM outputs, 12-bit resolution for each channel (4096 scales)
- 3 pin connectors in groups of 4 so you can plug in 16 servos at once
- This board/chip uses an I2C 7-bit address
- Expansion Headers for easy connections
- I2C controlled and external power supply connector
- Compatible with Micro:bit and Micro:bit V2
Specifications
- Power supply: 5V OR 6V (power supply connector)
- Servo voltage: 5V
- Logic voltage: 3.3V
- Driver: PCA9685
- Control interface: I2C
File:Microbit servo driver.png
Buy it From : Click Here
Pinout
| PIN | Description |
|---|---|
| VCC | Power (5V/6V) |
| GND | Ground |
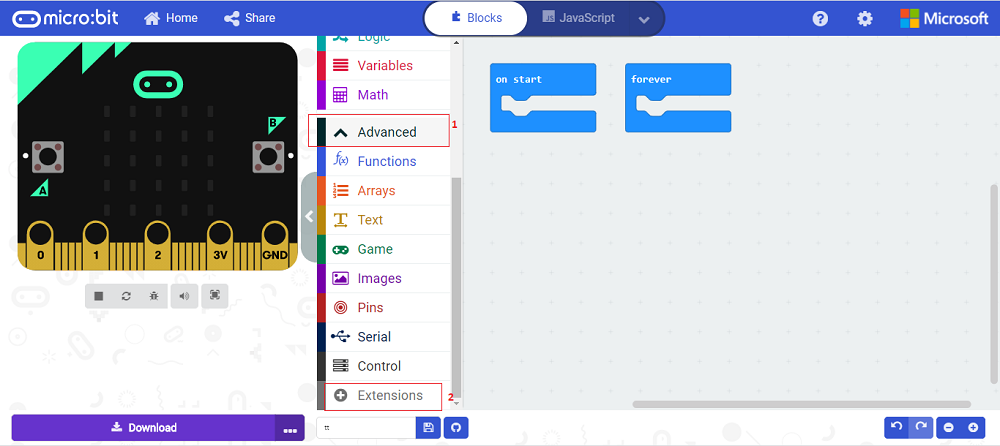
Programming
Drag and Drop
Many people want to learn the process to learn more about micro:bit by getting an understanding of the potential of micro:bit. If one wants to run servo motor and DC motor with the micro:bit motor driver then they can do the following steps.
https://github.com/sbcshop/Micro-Bit-Motor-Driver